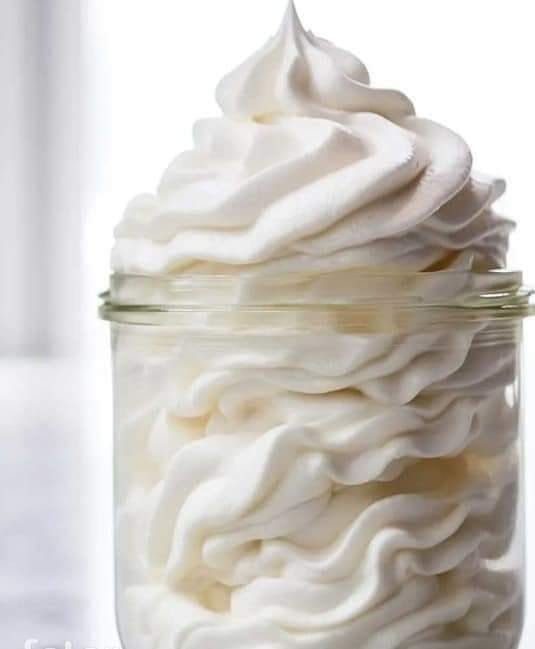
Stabilized whipped cream is a fantastic recipe for creating a light, airy topping that holds its shape for longer than traditional whipped cream. This is ideal for decorating cakes, pies, and other desserts where you want the cream to maintain its structure. Here’s a detailed recipe to make stabilized whipped cream that’s both delicious and durable.
Ingredients:
- Heavy Cream: 1 cup (240 ml) – Ensure it is well-chilled for best results. Heavy cream contains a higher fat content which helps the cream whip up nicely and hold its shape.
- Granulated Sugar: 2 tablespoons (25 grams) – This adds sweetness. You can adjust this amount based on your preference.
- Vanilla Extract: 1 teaspoon (5 ml) – For flavor. You can substitute with other extracts or flavorings if desired.
- Powdered Gelatin: 1 teaspoon (3 grams) – This will stabilize the whipped cream.
- Cold Water: 1 tablespoon (15 ml) – To dissolve the gelatin.
Instructions:
- Prepare Gelatin:
- In a small bowl, sprinkle 1 teaspoon of powdered gelatin over 1 tablespoon of cold water. Let it sit for about 5 minutes to allow the gelatin to bloom. It will absorb the water and swell.
- After the gelatin has bloomed, gently heat it to dissolve. You can do this by placing the bowl over a pot of simmering water (double boiler method) or by microwaving in 5-second intervals until fully dissolved. Do not let it boil. Once dissolved, set it aside to cool slightly.
- Chill Equipment:
- For the best results, chill your mixing bowl and beaters (or whisk) in the freezer for about 15 minutes. This helps the cream whip up faster and more efficiently.
- Whip the Cream:
- Pour the 1 cup of heavy cream into the chilled mixing bowl. Begin whipping the cream on medium speed until it starts to thicken. Gradually add the 2 tablespoons of granulated sugar and 1 teaspoon of vanilla extract while continuing to whip.
- Incorporate Gelatin:
- Once the cream has reached soft peaks (when you lift the beaters, the cream forms peaks that gently bend over), you can add the dissolved gelatin. Pour the slightly cooled gelatin into the whipped cream while the mixer is running on low speed. This ensures the gelatin is evenly distributed without deflating the whipped cream.
- Continue to whip the cream until stiff peaks form. This means the cream will hold its shape and stand up firmly when the beaters are lifted.
- Usage and Storage:
- Use the stabilized whipped cream immediately to top cakes, pies, or other desserts. It will hold its shape better than regular whipped cream, making it perfect for decoration.
- If you need to store it, place it in an airtight container and refrigerate. The stabilized whipped cream can be kept in the refrigerator for up to 3 days. If it separates slightly after sitting, a gentle re-whip will restore its texture.
Tips:
- Avoid Overwhipping: Be careful not to overwhip the cream. Overwhipping can lead to the cream turning into butter.
- Gelatin Variations: If you prefer, you can use agar-agar instead of gelatin, but you’ll need to follow the specific instructions for it as it sets differently than gelatin.
- Flavored Variants: Feel free to experiment with different extracts, citrus zests, or even a bit of cocoa powder for flavored whipped creams.
By following these steps, you’ll achieve a beautifully stabilized whipped cream that enhances your desserts with a professional touch and keeps its delightful texture and flavor.
