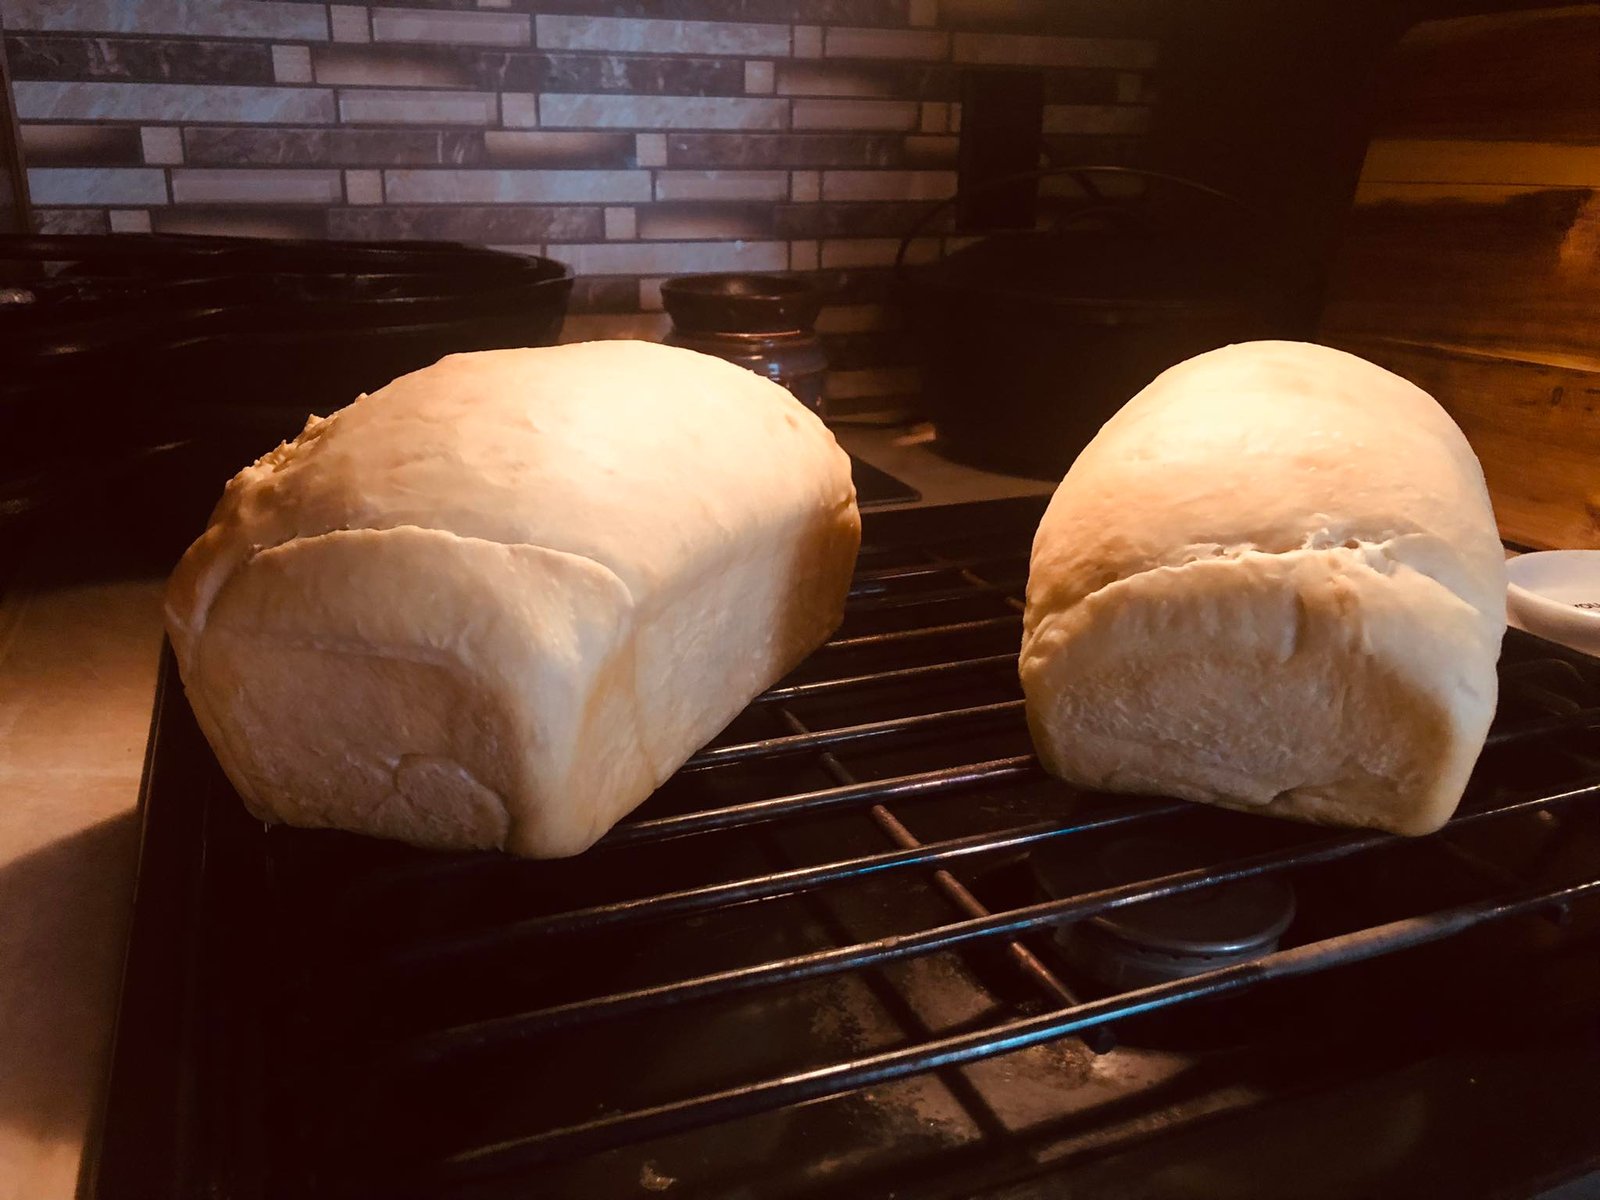
There is something undeniably special about homemade bread, and when it comes to flavor, texture, and health benefits, sourdough stands in a league of its own. While rustic sourdough boules and crusty artisan loaves often steal the spotlight, sometimes what we truly crave is a soft, fluffy loaf perfect for everyday use. Enter the sourdough sandwich bread—a tender, slightly tangy loaf that slices beautifully, makes excellent toast, and is sturdy enough for sandwiches while remaining wonderfully soft. With the right balance of fermentation, patience, and technique, you can bake a loaf that rivals any store-bought bread and fills your kitchen with the irresistible aroma of home baking.
Why Choose Sourdough Sandwich Bread?
Unlike typical commercial bread that relies on instant yeast, sourdough bread uses a natural starter made from flour and water. This fermentation process not only gives the bread a signature tang but also makes it easier to digest. The natural acids and long fermentation time help break down gluten and phytic acid, improving both flavor and nutrition. A sourdough sandwich bread strikes a beautiful balance—it has the health benefits and complex taste of sourdough, but the soft crumb and square shape make it more versatile for daily meals.
Ingredients
To make one standard loaf (9×5 inch pan), you’ll need:
-
Active sourdough starter – 150 g (about ¾ cup, fed and bubbly)
-
Warm water – 250 g (1 cup + 1 tbsp)
-
Bread flour – 450 g (about 3 ¾ cups)
-
Sugar or honey – 2 tbsp (optional, for mild sweetness)
-
Salt – 10 g (about 1 ½ tsp)
-
Unsalted butter or olive oil – 40 g (3 tbsp, softened/melted)
Optional: An egg wash or milk wash for a golden, shiny crust.
Step-by-Step Instructions
1. Mixing the Dough
In a large mixing bowl, combine the active starter and warm water. Stir until the starter dissolves, creating a cloudy liquid. Add the flour, sugar, and salt, mixing until a rough dough forms. Incorporate the butter or oil last, kneading gently until it is absorbed. The dough will feel slightly sticky but should come together into a cohesive ball.
2. Autolyse and Rest
Let the dough rest, covered, for about 30 minutes. This resting stage allows the flour to hydrate fully, which will improve gluten development and make kneading easier.
3. Kneading
Turn the dough onto a lightly floured surface and knead for about 8–10 minutes until smooth and elastic. Alternatively, use a stand mixer with a dough hook for about 6 minutes on medium speed. The dough should pass the “windowpane test”—when stretched gently, it should form a thin, translucent sheet without tearing.
4. Bulk Fermentation
Place the dough in a lightly greased bowl, cover with a damp towel or plastic wrap, and let it rise at room temperature for 3–4 hours. Perform a set of stretch-and-folds every 45 minutes to strengthen the gluten network. The dough should become airy, slightly puffy, and nearly double in size by the end of bulk fermentation.
5. Shaping
Once the dough has risen, gently deflate it and turn it onto a clean surface. Shape it into a rectangle roughly the length of your loaf pan. Roll it tightly into a log, tucking in the sides for a neat fit. Place the shaped dough seam-side down into a greased loaf pan.
6. Final Proof
Cover the loaf and let it rise for 2–4 hours at room temperature, or overnight in the refrigerator for a slower fermentation. The dough should rise until it crowns about 1 inch above the rim of the pan. A good way to check readiness is the poke test—gently press a finger into the dough; if it springs back slowly, it’s ready to bake.
7. Baking
Preheat your oven to 375°F (190°C). Brush the loaf with egg wash or milk if desired. Bake for 35–40 minutes until golden brown, and the internal temperature reaches 190–200°F (88–93°C). If the top browns too quickly, tent it with foil.
8. Cooling
Remove the bread from the pan immediately after baking and cool on a wire rack. Allow it to cool completely—at least 1 hour—before slicing. Cutting too early can result in a gummy texture.
Tips for Success
-
Starter Strength: Make sure your sourdough starter is active and bubbly before using it. A weak starter will result in poor rise and dense bread.
-
Temperature Control: Warmer environments speed up fermentation, while cooler temperatures slow it down. Adjust proofing times accordingly.
-
Pan Size Matters: A standard 9×5 loaf pan works best. Smaller pans may cause the dough to overflow, while larger pans can result in flatter loaves.
-
Storage: Once cooled, store in a bread bag or airtight container at room temperature for 3–4 days. For longer storage, slice and freeze, reheating in the toaster when needed.
