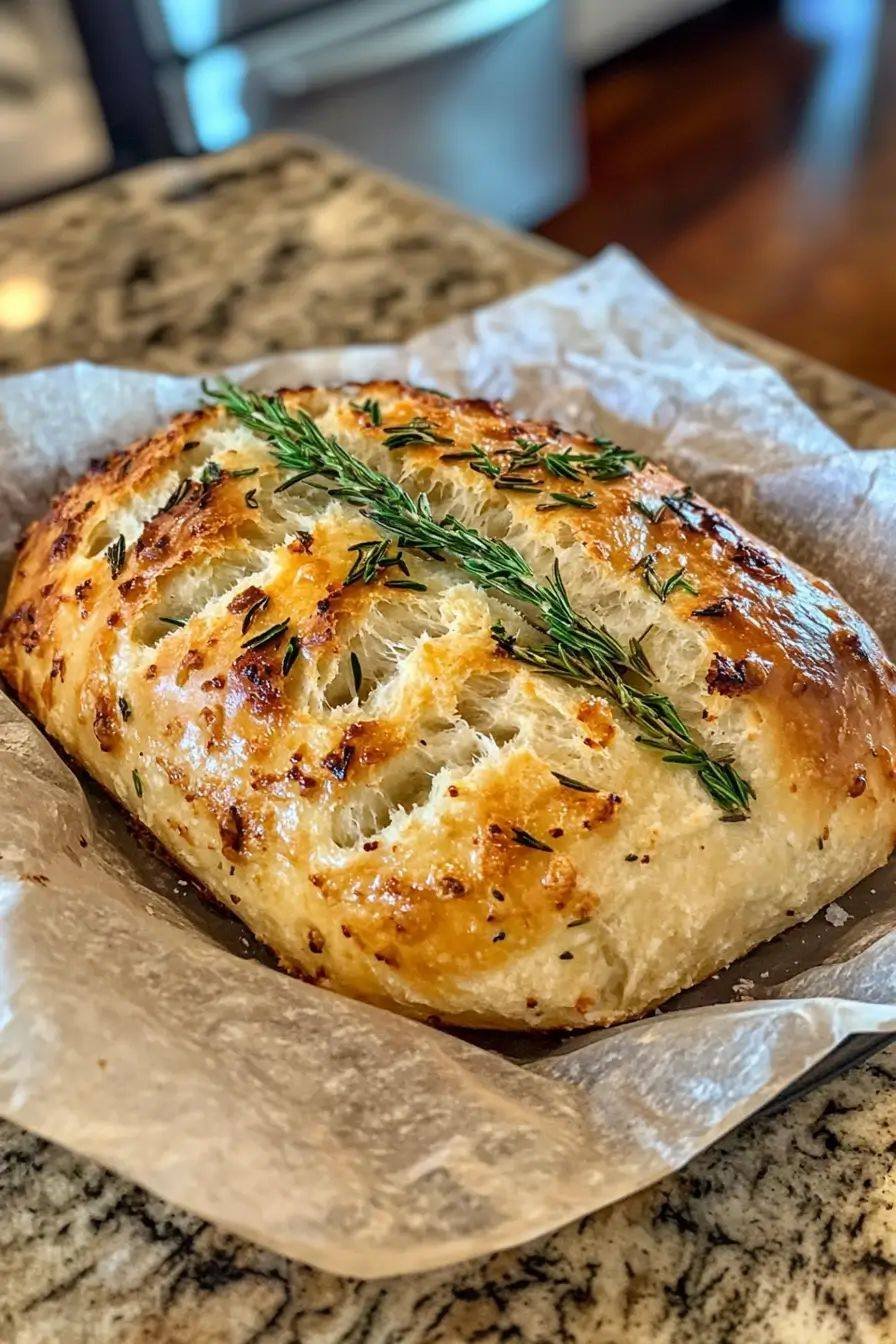
There’s nothing quite like the comforting aroma of freshly baked bread wafting through the kitchen. For many home cooks, though, the idea of making bread can seem intimidating—kneading dough, worrying about rise times, and hoping the texture comes out right. That’s where this No-Knead Rosemary Garlic Bread steps in as a game-changer. It’s a simple yet impressive loaf that doesn’t require any kneading, just time and patience, making it perfect for beginner bakers and seasoned cooks alike. The fragrant combination of rosemary and roasted garlic elevates this bread into something truly special, making it an ideal companion for soups, pastas, or simply enjoyed with a smear of butter.
Why This Bread Works
The magic of no-knead bread lies in its long fermentation. Instead of kneading to develop the gluten, time does all the heavy lifting. The dough rests for 12 to 18 hours, which allows the gluten strands to form naturally. This technique results in a chewy, crusty loaf with a beautiful artisan look. Add in the earthy flavor of rosemary and the mellow sweetness of roasted garlic, and you’ve got a bread that feels restaurant-worthy without requiring hours of hard labor.
Ingredients
-
3 cups all-purpose flour (plus extra for dusting)
-
1 ½ teaspoons salt
-
½ teaspoon instant yeast (or active dry yeast)
-
1 ½ cups warm water
-
1 whole head of garlic
-
1–2 tablespoons fresh rosemary, finely chopped
-
1 tablespoon olive oil (for garlic roasting)
Step 1: Roast the Garlic
Start by roasting your garlic, which adds a nutty sweetness that raw garlic simply can’t deliver. Preheat your oven to 400°F (200°C). Slice off the top of the garlic bulb to expose the cloves, drizzle with olive oil, wrap in foil, and roast for about 35–40 minutes until the cloves are soft and golden. Let it cool slightly, then squeeze the cloves out of their skins. Mash them gently into a paste and set aside.
Step 2: Make the Dough
In a large mixing bowl, combine flour, salt, and yeast. Add the warm water and stir with a wooden spoon until a sticky dough forms. Fold in the roasted garlic paste and chopped rosemary, mixing just until everything is incorporated. The dough will look shaggy and messy, but that’s exactly what you want—don’t worry about perfection here. Cover the bowl tightly with plastic wrap or a clean kitchen towel and let it rest at room temperature for 12 to 18 hours.
Step 3: Shape and Second Rise
After the long rest, the dough should be bubbly and doubled in size. Flour your hands and a clean surface, then gently scrape out the dough. Don’t punch it down; you want to keep as many air bubbles as possible. Fold the dough over itself a few times to give it shape, then form it into a rough ball. Place it on a sheet of parchment paper, sprinkle with a little flour, and cover it with a towel. Let it rise for another 1–2 hours.
Step 4: Preheat the Oven and Dutch Oven
About 30 minutes before baking, preheat your oven to 450°F (230°C). Place a Dutch oven with its lid inside the oven to heat up. This step is crucial, as the hot pot creates a steamy environment that gives the bread its crisp, crackling crust.
Step 5: Bake the Bread
When the second rise is complete, carefully remove the Dutch oven from the oven (use oven mitts—it will be extremely hot). Lift the dough with the parchment paper and transfer it directly into the pot. Cover with the lid and bake for 30 minutes. Then remove the lid and bake for an additional 10–15 minutes until the crust is deep golden brown.
Step 6: Cool and Enjoy
Remove the bread from the Dutch oven and let it cool on a wire rack for at least 30 minutes before slicing. As tempting as it is to cut right into it, resting ensures the crumb finishes setting and keeps the loaf from becoming gummy. Once cooled, slice into thick wedges and enjoy the irresistible combination of chewy interior, crisp crust, and fragrant rosemary-garlic flavor.
Tips and Variations
-
Flour Choices: While all-purpose flour works wonderfully, try substituting half with bread flour for a chewier texture.
-
Herb Variations: Rosemary is classic, but thyme or oregano also pair beautifully with garlic.
-
Cheesy Twist: Add ½ cup shredded Parmesan or mozzarella during the mixing step for a cheesy garlic loaf.
-
Storage: This bread tastes best the day it’s baked but can be stored in a paper bag at room temperature for up to 2 days. Toast leftovers for an even crunchier bite.
Final Thoughts
Making bread doesn’t have to be complicated, and this No-Knead Rosemary Garlic Bread proves it. With just a handful of pantry staples and minimal effort, you can create a rustic, bakery-style loaf that’s sure to impress. The roasted garlic brings a subtle sweetness, the rosemary adds an herbal depth, and the golden crust provides that perfect crunch with every bite. Whether you’re serving it alongside a hearty stew, using it to mop up pasta sauce, or simply enjoying it warm with butter, this bread is a recipe you’ll want to make again and again.
