For many bread lovers, sourdough holds a special place. Its tangy flavor, chewy crumb, and rustic crust make it irresistible. But for those who are gluten-intolerant or simply avoiding gluten, traditional sourdough made with wheat flour is not an option. Thankfully, gluten-free sourdough bread can be just as flavorful, hearty, and satisfying when prepared with the right ingredients and care. This recipe walks you through making a homemade gluten-free sourdough loaf, covering everything from the starter to baking.
Why Gluten-Free Sourdough?
Unlike standard gluten-free bread, which can sometimes be dense or dry, sourdough fermentation improves both taste and texture. The natural wild yeast and bacteria in a sourdough starter help break down starches, resulting in better digestibility and a more complex flavor profile. Additionally, fermentation increases nutrient absorption, which means this bread isn’t just tasty—it’s also nourishing.
Ingredients You’ll Need
For the Gluten-Free Sourdough Starter (prepare in advance):
-
½ cup brown rice flour (can substitute sorghum flour)
-
½ cup filtered water
For feeding the starter daily:
-
½ cup gluten-free flour blend (brown rice, sorghum, or buckwheat work well)
-
½ cup filtered water
For the Bread Dough:
-
1 ½ cups active gluten-free sourdough starter
-
2 cups gluten-free all-purpose flour blend (make sure it contains xanthan gum or add 1 tsp separately)
-
1 cup sorghum flour or buckwheat flour
-
½ cup tapioca starch
-
2 tbsp psyllium husk powder (for elasticity and structure)
-
1 ½ tsp sea salt
-
1 ½ cups warm water
-
2 tbsp olive oil or melted butter
-
1 tbsp honey or maple syrup (optional, for flavor and to feed fermentation)
Step 1: Building the Starter
A good sourdough begins with a healthy starter. To make yours, mix ½ cup brown rice flour with ½ cup filtered water in a clean glass jar. Stir until smooth, cover loosely with a cloth, and leave it at room temperature. Each day, feed it with equal parts flour and water, discarding half of the mixture before each feeding. Within 5–7 days, your starter should become bubbly, airy, and pleasantly sour-smelling. This is a sign that the wild yeast and bacteria are thriving and ready to leaven bread.
Step 2: Mixing the Dough
In a large mixing bowl, combine the gluten-free all-purpose flour, sorghum flour, tapioca starch, psyllium husk powder, and salt. Whisk well to distribute dry ingredients evenly. Next, add 1 ½ cups of your active sourdough starter along with warm water, olive oil, and honey. Stir thoroughly with a wooden spoon or spatula until you form a sticky dough. Unlike wheat dough, this won’t be kneaded in the traditional sense because gluten-free flours lack elasticity. Instead, aim for a thick, sticky batter-like consistency.
Step 3: Bulk Fermentation
Transfer the dough to a greased bowl, cover it with a clean cloth, and allow it to ferment for 4–6 hours at room temperature. Depending on the warmth of your kitchen, this time may vary. You’ll know it’s ready when the dough appears slightly puffed and airy. Gluten-free dough won’t rise as dramatically as wheat dough, but you’ll notice bubbles forming throughout.
Step 4: Shaping and Proofing
Once bulk fermentation is complete, scrape the dough onto a parchment-lined baking pan or into a greased loaf tin. Use damp hands or a spatula to smooth the top. Cover again and allow it to proof for 1–2 hours. This final rise gives the bread its airy texture. Don’t worry if the rise is modest—gluten-free bread depends more on steam and structure during baking to achieve loft.
Step 5: Baking the Loaf
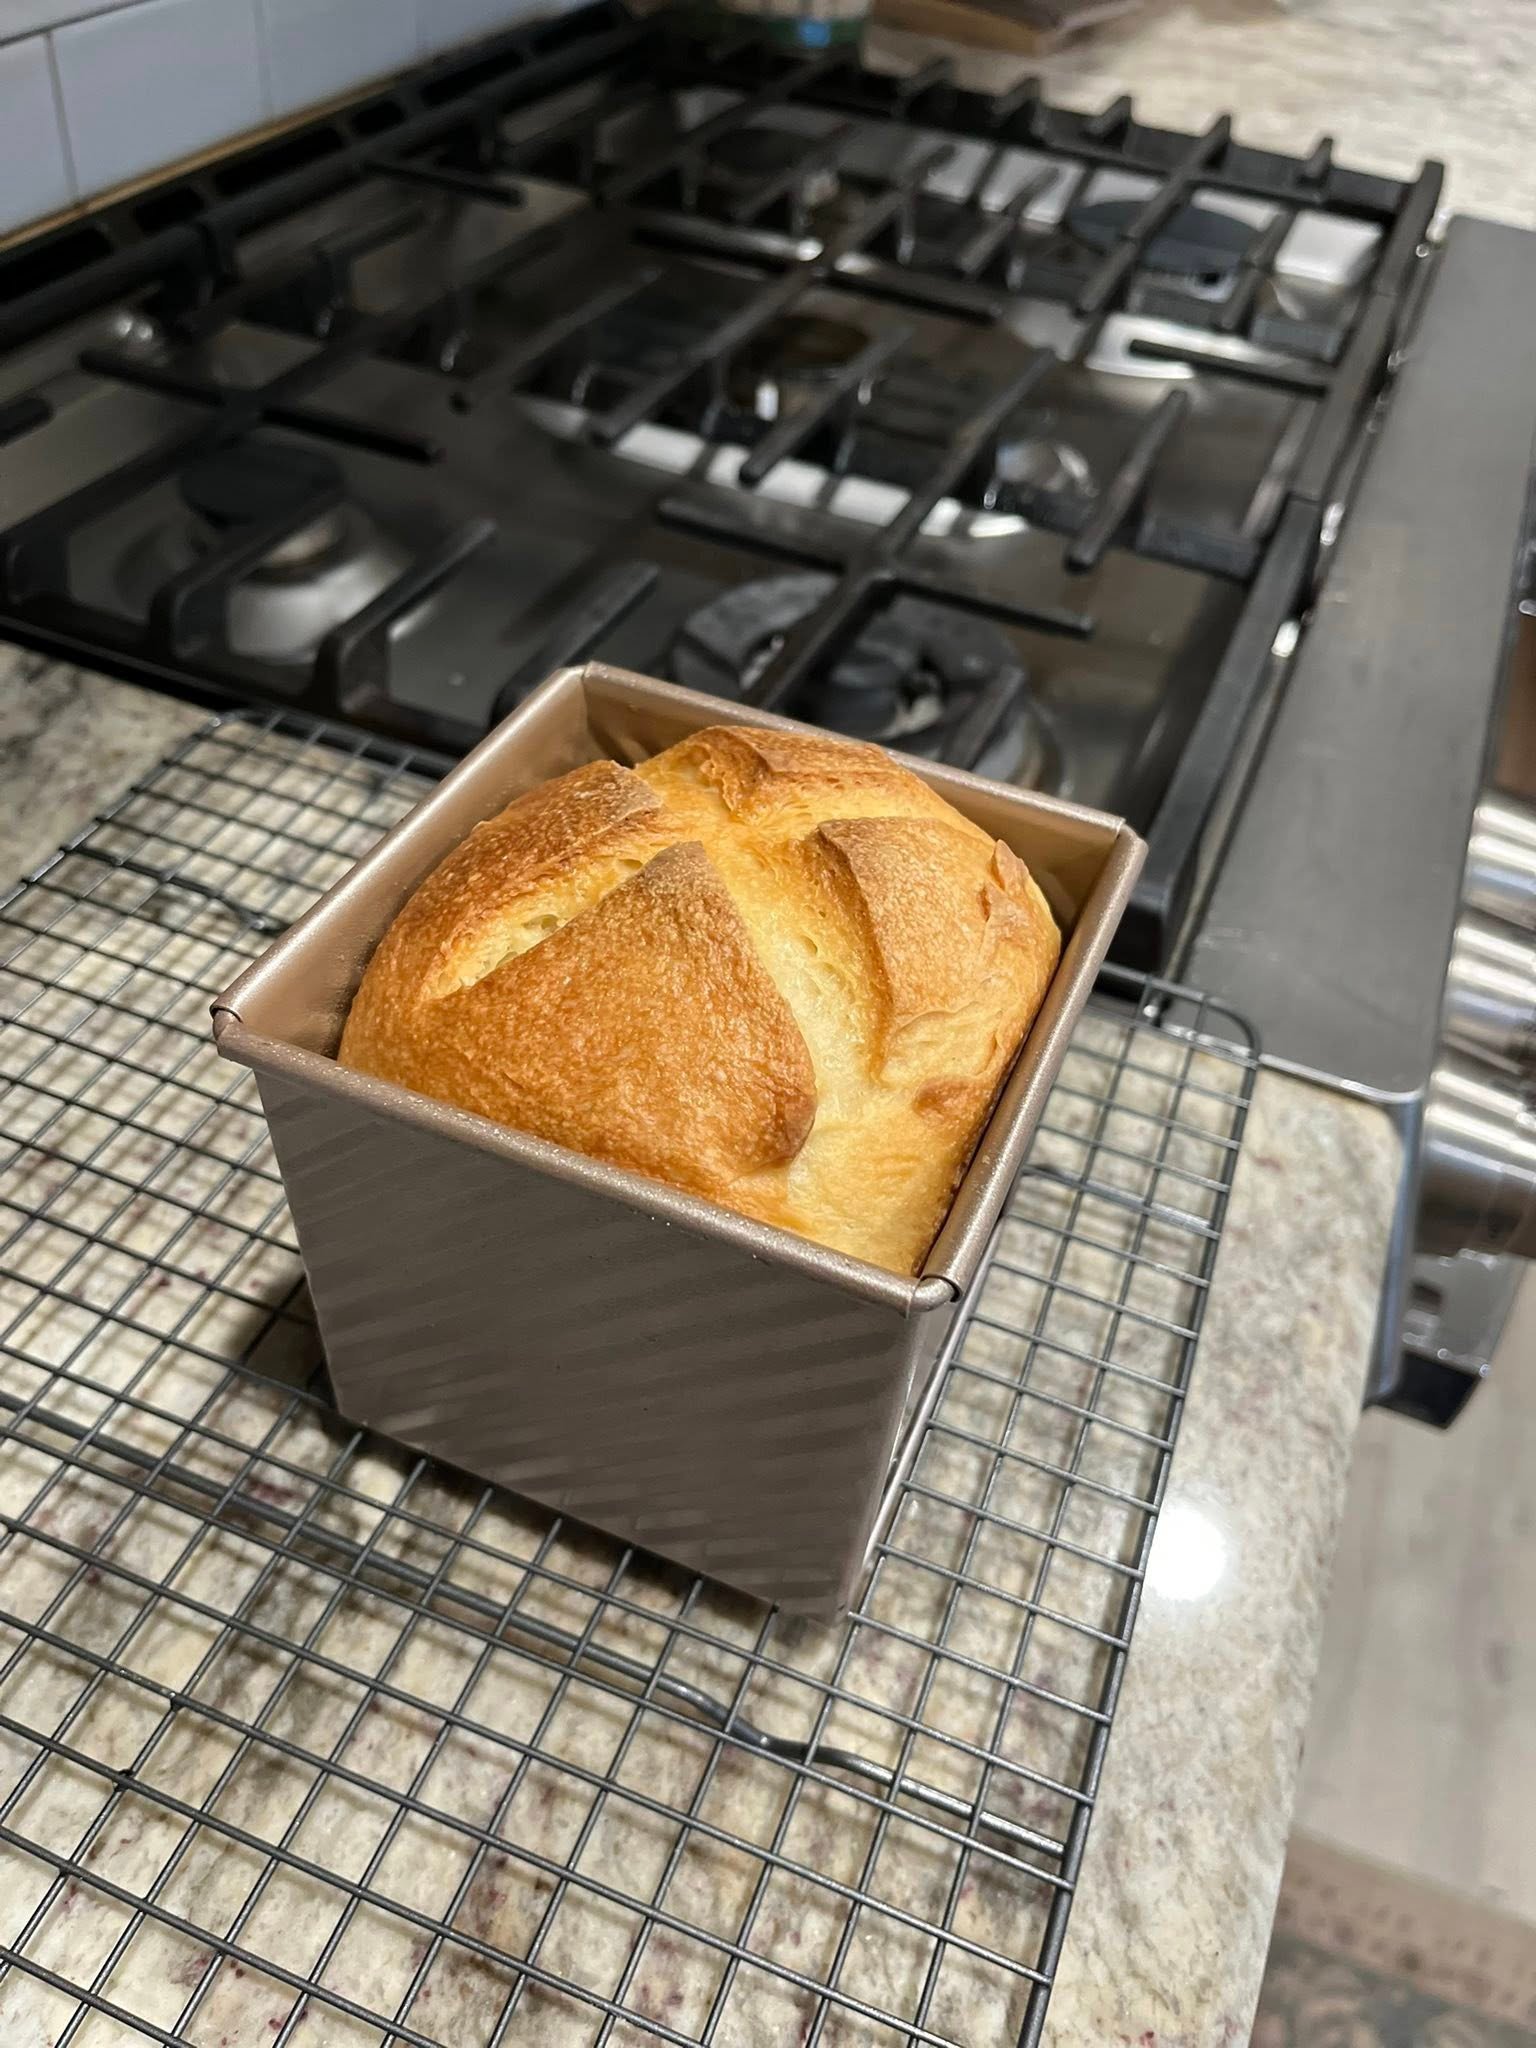
Preheat your oven to 425°F (220°C). If you have a Dutch oven, place it inside to preheat as well—this will help trap steam for a crisp crust. Once hot, carefully transfer your loaf into the Dutch oven or directly onto the oven rack with a tray of water underneath. Bake covered for 30 minutes, then remove the lid (if using a Dutch oven) and bake for an additional 25–30 minutes until the crust is golden brown and firm. The bread is done when it sounds hollow when tapped on the bottom.
Step 6: Cooling and Enjoying
Perhaps the hardest part of baking sourdough is waiting for it to cool. Gluten-free bread especially needs a proper cooling time to firm up and prevent gumminess. Place the loaf on a wire rack and let it rest for at least 2–3 hours before slicing. Once cooled, slice with a serrated knife and enjoy with butter, jam, or your favorite toppings.
Storage Tips
Gluten-free sourdough is best eaten fresh but can be stored at room temperature in an airtight container for up to 2 days. For longer storage, slice the bread and freeze it. You can then toast slices straight from the freezer for a quick and delicious snack.
Final Thoughts
This gluten-free sourdough bread combines the tangy flavor and rustic charm of classic sourdough with a recipe adapted for those avoiding gluten. With its crisp crust, tender crumb, and nutritional benefits from fermentation, it’s a loaf you’ll be proud to bake and share. While the process requires patience—especially when nurturing your starter—the reward is a wholesome bread that rivals traditional wheat sourdough in both taste and texture
