For many people, donuts are the ultimate comfort treat—soft, fluffy, slightly sweet, and perfect with a morning cup of coffee or as an afternoon pick-me-up. But if you follow a gluten-free lifestyle, finding a donut that matches the taste and texture of the classic version can be tricky. Fortunately, with the right blend of gluten-free flours and a gentle baking method, you can create homemade baked donuts that are every bit as delightful as the ones from the bakery. This recipe gives you a step-by-step guide to making soft, moist, and flavorful gluten-free baked donuts right in your own kitchen.
Why Baked Donuts?
Traditional donuts are fried, which gives them a crisp outer shell and a rich flavor. However, baking donuts not only makes them lighter and healthier but also much easier to prepare at home—no hot oil to worry about, no lingering smell of frying, and less cleanup. Baked donuts are moist, soft, and cake-like, with endless possibilities for toppings such as glazes, sprinkles, powdered sugar, or even a simple cinnamon-sugar coating.
Ingredients
For the donuts:
-
1 cup gluten-free all-purpose flour blend (with xanthan gum included)
-
1 teaspoon baking powder
-
¼ teaspoon baking soda
-
¼ teaspoon salt
-
½ teaspoon ground cinnamon (optional, for warmth)
-
⅓ cup granulated sugar
-
¼ cup light brown sugar
-
⅓ cup unsalted butter (melted) or neutral oil
-
2 large eggs, room temperature
-
½ cup milk (dairy or non-dairy)
-
1 teaspoon pure vanilla extract
For the glaze (optional):
-
1 cup powdered sugar
-
2–3 tablespoons milk (dairy or non-dairy)
-
½ teaspoon vanilla extract
-
Sprinkles or shredded coconut for topping (optional)
Step-by-Step Instructions
1. Prepare the Equipment
Preheat your oven to 350°F (175°C). Lightly grease a donut pan with oil or non-stick spray. If you don’t have a donut pan, you can use a muffin tin, though the shape will be slightly different.
2. Mix the Dry Ingredients
In a medium bowl, whisk together the gluten-free flour blend, baking powder, baking soda, salt, cinnamon, and sugars. Mixing the dry ingredients thoroughly ensures even distribution of leavening agents and prevents clumping.
3. Combine Wet Ingredients
In another bowl, whisk together the melted butter (or oil), eggs, milk, and vanilla extract until smooth. Using room-temperature eggs and milk will help the batter come together more evenly.
4. Blend Wet and Dry
Gradually pour the wet ingredients into the dry ingredients. Stir gently with a spatula until just combined. Do not overmix, as this can make the donuts dense. The batter should be thick but pourable; if it feels too stiff, add a splash more milk.
5. Fill the Donut Pan
Spoon or pipe the batter into the prepared donut pan, filling each cavity about two-thirds full. Piping the batter with a zip-top bag (snipped at the corner) creates neat, evenly filled donuts.
6. Bake to Perfection
Place the pan in the preheated oven and bake for 10–12 minutes, or until the donuts spring back lightly when touched. Another way to check doneness is to insert a toothpick into one donut; it should come out clean.
7. Cool the Donuts
Allow the donuts to cool in the pan for about 5 minutes before transferring them to a wire rack. This resting period prevents them from breaking apart.
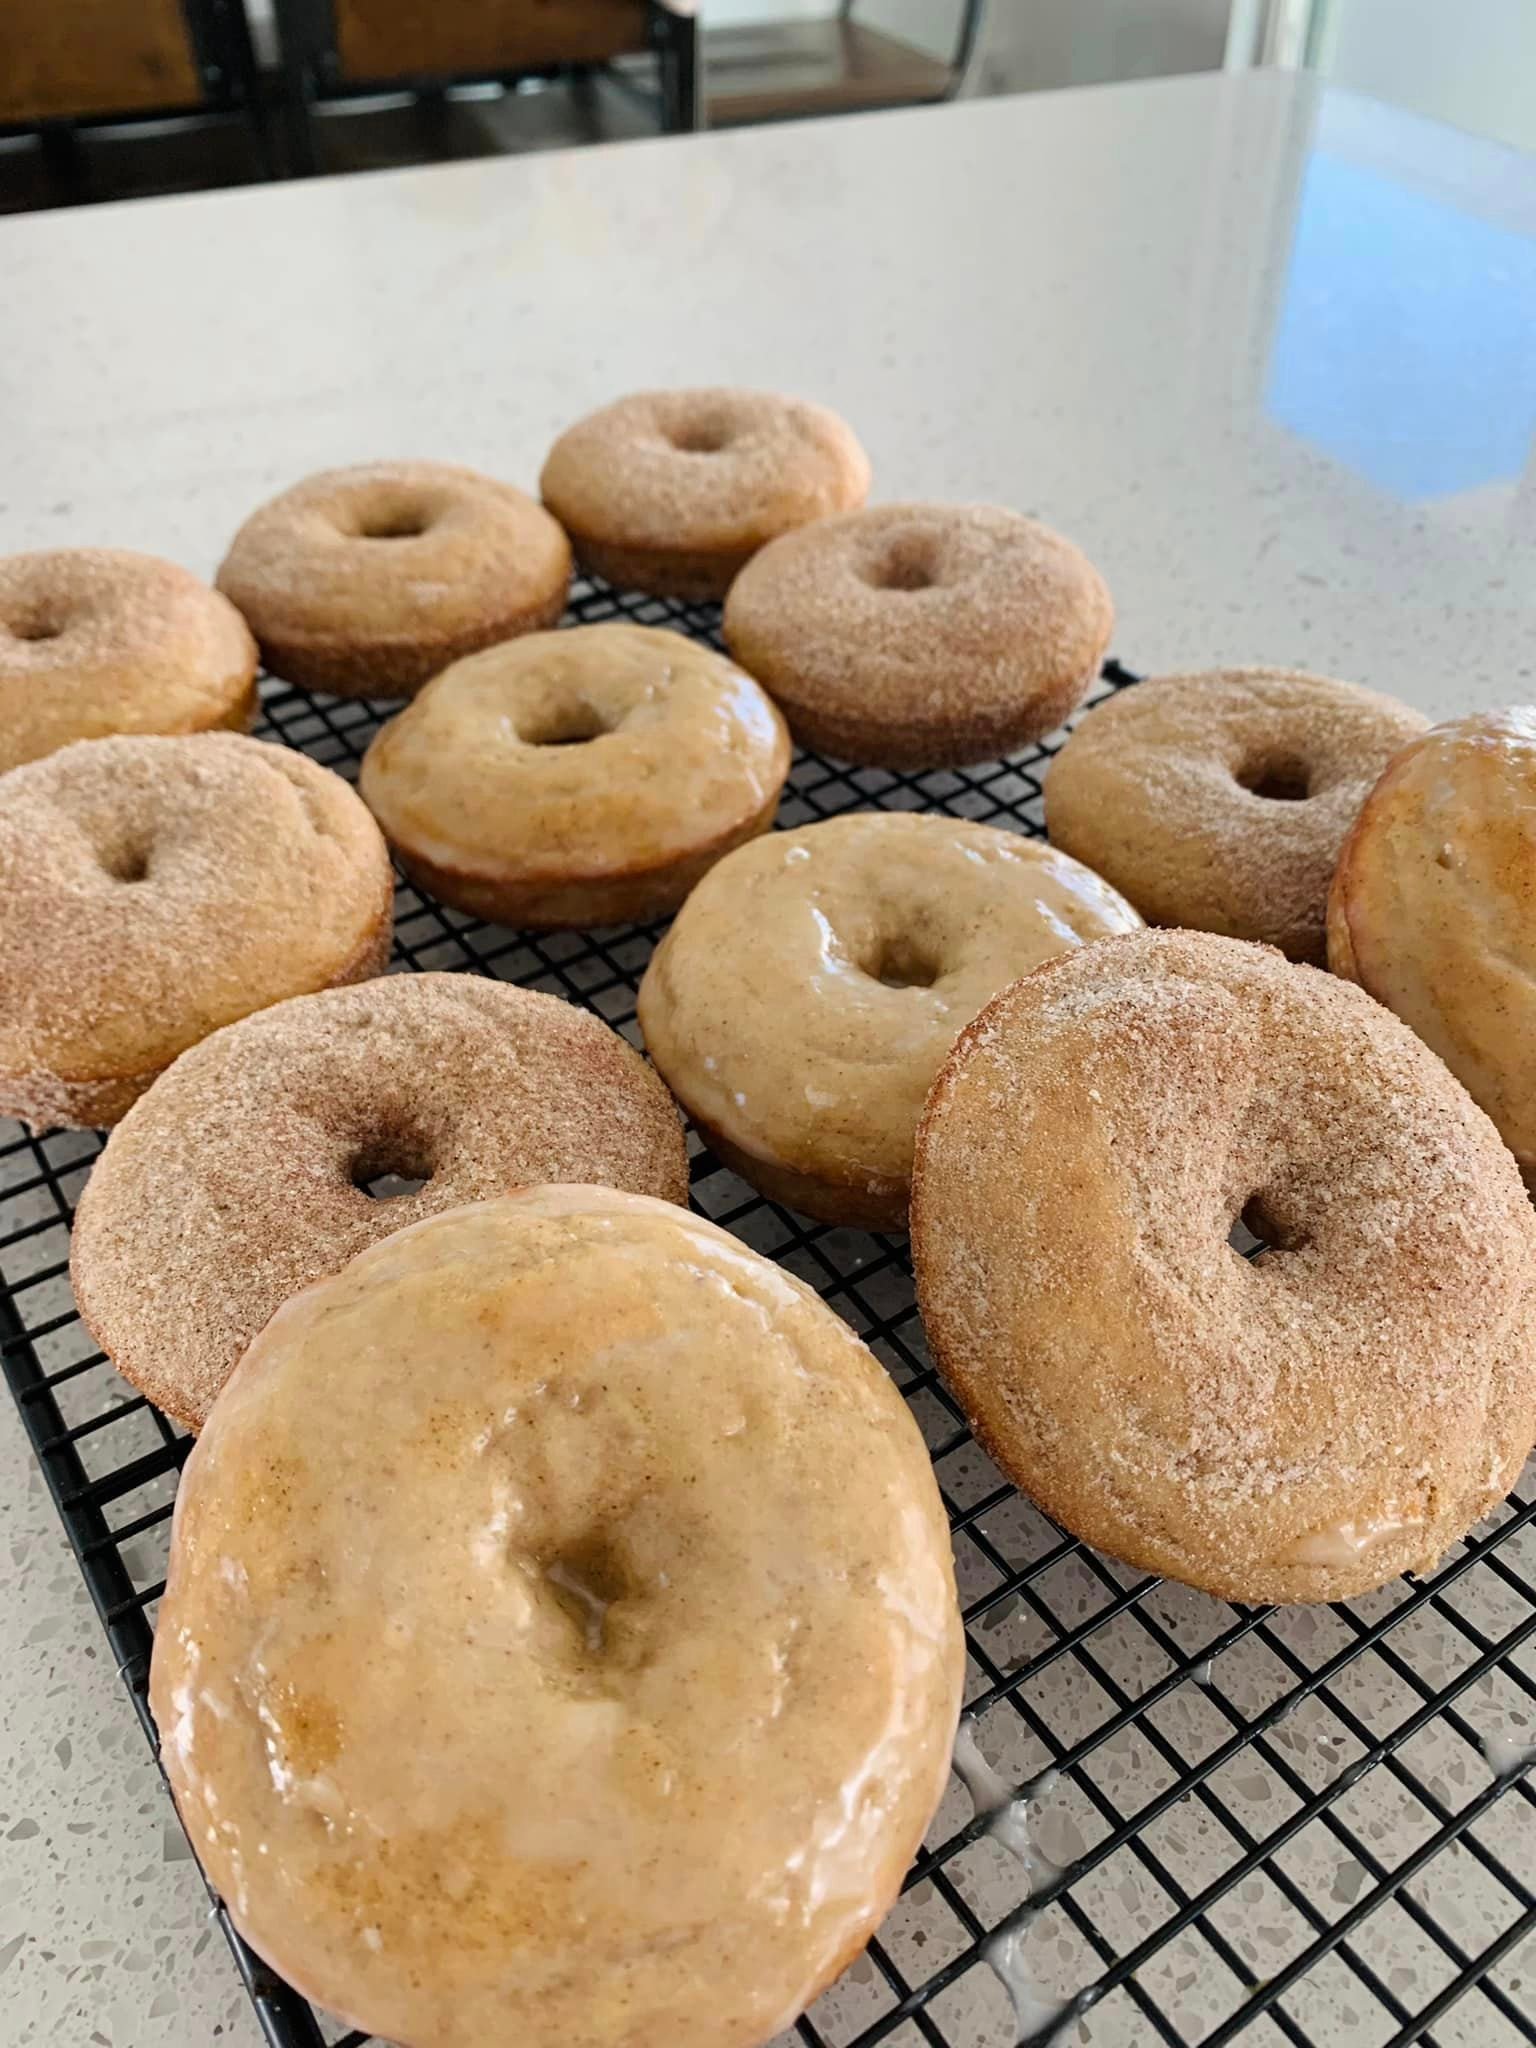
8. Add the Glaze or Topping
While the donuts cool, whisk together the powdered sugar, milk, and vanilla extract in a small bowl until smooth. Dip the tops of the cooled donuts into the glaze, letting the excess drip off. Place them back on the rack and sprinkle with your choice of toppings. For a classic twist, you can also brush warm donuts with melted butter and coat them in cinnamon sugar.
Tips for Success
-
Choose the right flour blend – Not all gluten-free flours are created equal. A high-quality all-purpose gluten-free blend that already includes xanthan gum works best. If your blend doesn’t have xanthan gum, add ½ teaspoon per cup of flour.
-
Don’t overbake – Gluten-free baked goods can dry out quickly. Check the donuts at the 10-minute mark to prevent them from becoming too firm.
-
Flavor variations – Add a teaspoon of cocoa powder for chocolate donuts, fold in blueberries for a fruity twist, or sprinkle the tops with chopped nuts for added crunch.
-
Dairy-free option – Use almond milk, coconut milk, or oat milk in place of dairy, and substitute coconut oil or vegan butter.
-
Storage – Store glazed donuts in an airtight container at room temperature for up to two days. Unglazed donuts can be frozen for up to a month; simply thaw and glaze when ready to serve.
Serving Suggestions
Gluten-free baked donuts are perfect for breakfast, brunch gatherings, or even as a sweet dessert. Pair them with hot coffee, a frothy cappuccino, or a tall glass of cold milk. They also make a fun treat for kids’ parties when decorated with colorful sprinkles. For a seasonal twist, consider a maple glaze in the fall or a lemon glaze in the spring.
Final Thoughts
Gluten-free baked donuts prove that dietary restrictions don’t mean sacrificing flavor or joy. They’re light, tender, and full of sweet nostalgia, yet easy to make at home with simple pantry ingredients. By baking instead of frying, you’ll enjoy a treat that feels indulgent without being heavy. With customizable toppings and endless variations, this recipe is bound to become a household favorite. So next time you’re craving donuts, skip the bakery line and bake a fresh batch right from your own oven—gluten-free and delicious.
