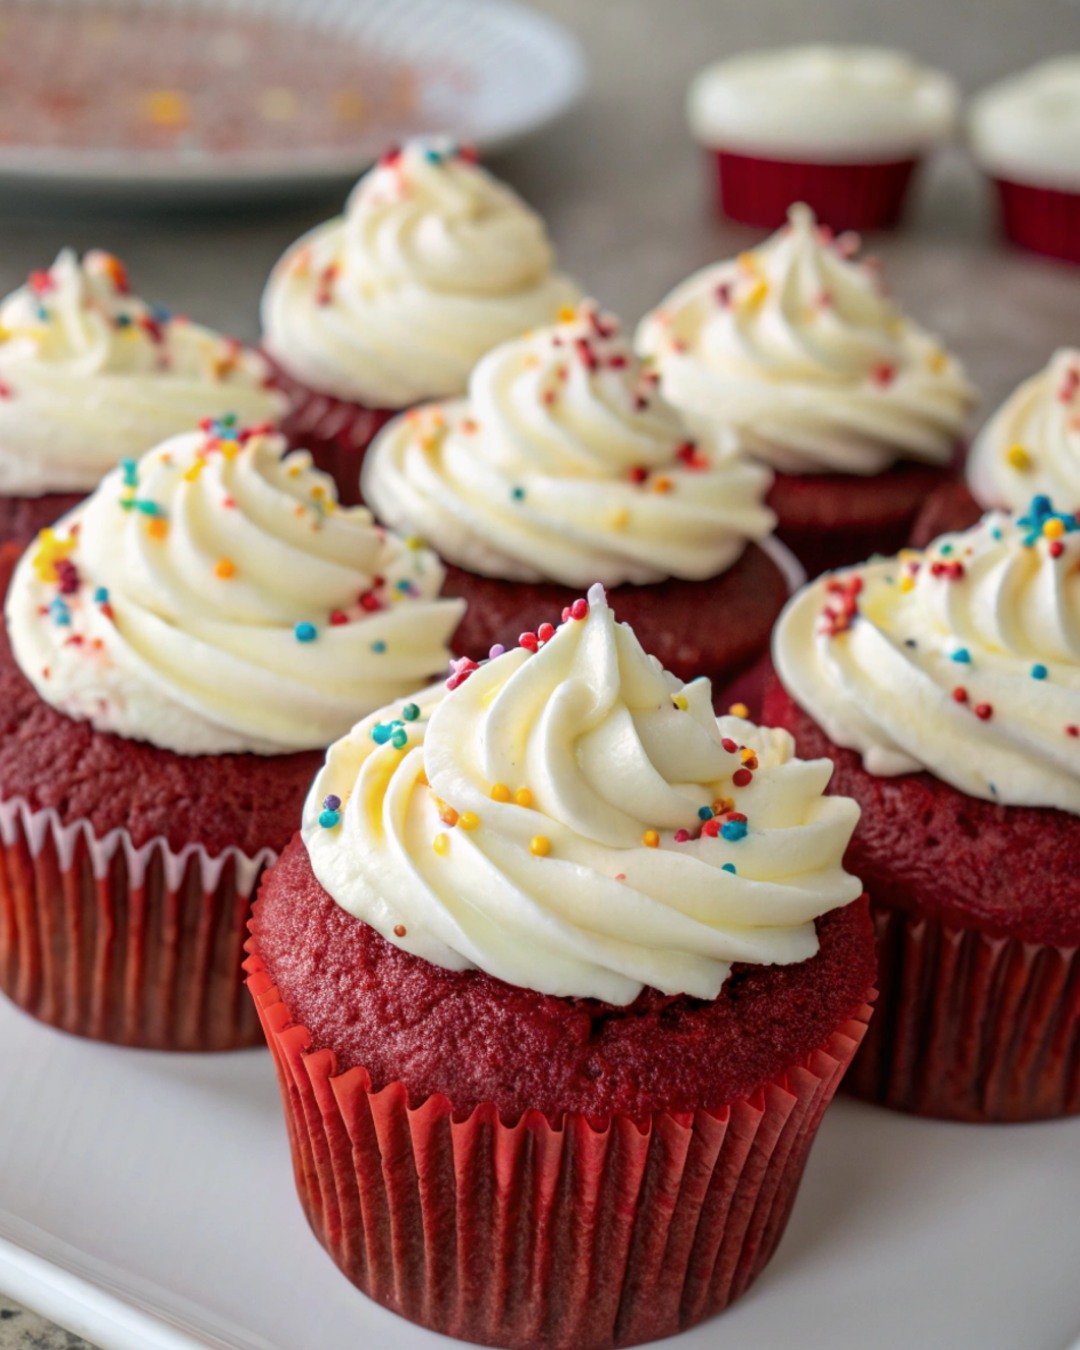
Gluten-free baking doesn’t mean giving up on classic indulgences, and these Gluten-Free Red Velvet Cupcakes are proof of that. They’re moist, tender, and beautifully vibrant, with the signature hint of cocoa and a creamy swirl of luscious cream cheese frosting. Whether you’re baking for a special occasion or simply want a sweet treat that feels like a celebration, these cupcakes deliver pure satisfaction without the gluten. The key lies in balancing the right blend of gluten-free flours and achieving that perfect, velvety texture red velvet is famous for.
Ingredients
For the cupcakes:
-
1 ¾ cups gluten-free all-purpose flour blend (with xanthan gum included)
-
2 tablespoons unsweetened cocoa powder
-
1 teaspoon baking soda
-
½ teaspoon salt
-
¾ cup granulated sugar
-
½ cup vegetable oil (or melted coconut oil)
-
2 large eggs, room temperature
-
¾ cup buttermilk (or ¾ cup milk + 1 teaspoon vinegar)
-
1 teaspoon pure vanilla extract
-
1 teaspoon white vinegar
-
2 tablespoons red food coloring (gel preferred for vibrant color)
For the cream cheese frosting:
-
8 oz (225 g) cream cheese, softened
-
½ cup unsalted butter, softened
-
2 ½ cups powdered sugar, sifted
-
1 teaspoon vanilla extract
-
Pinch of salt
Instructions
Step 1: Preheat and Prepare
Preheat your oven to 350°F (175°C) and line a 12-cup muffin tin with cupcake liners. A light spritz of nonstick spray inside each liner helps the cupcakes release easily once baked. Gluten-free batters can sometimes stick more than traditional ones, so this small step makes a big difference.
Step 2: Mix the Dry Ingredients
In a medium bowl, whisk together the gluten-free flour blend, cocoa powder, baking soda, and salt. Sifting or whisking helps eliminate lumps and ensures even distribution of the cocoa and leavening agents, which is especially important in gluten-free baking for a consistent crumb.
Step 3: Prepare the Wet Mixture
In a large bowl, whisk the sugar and oil until combined. Add in the eggs, vanilla extract, and red food coloring, mixing until the batter turns smooth and evenly colored. If using natural food coloring, you may need a bit more to achieve that classic red hue.
Step 4: Combine and Activate
Pour the buttermilk into the wet mixture and stir gently. Then add the dry ingredients gradually, stirring until just incorporated. Finally, mix in the white vinegar, which reacts with the baking soda to create that signature lift and tender texture. Avoid overmixing—gluten-free batters benefit from minimal stirring to stay light.
Step 5: Bake to Perfection
Divide the batter evenly among the cupcake liners, filling each about two-thirds full. Bake for 18–22 minutes, or until a toothpick inserted in the center comes out clean. The tops should spring back slightly when touched.
Once baked, remove from the oven and let the cupcakes cool in the pan for 5 minutes before transferring them to a wire rack to cool completely. This cooling process ensures the texture firms up without becoming dry.
Step 6: Make the Cream Cheese Frosting
While the cupcakes cool, prepare the frosting. In a large bowl, beat together the cream cheese and butter with an electric mixer until smooth and creamy—about 2 minutes. Add the vanilla extract and salt, then gradually beat in the powdered sugar one cup at a time until the frosting is fluffy and spreadable. If it’s too soft, chill it for 15–20 minutes before piping.
Step 7: Frost and Decorate
Once the cupcakes are completely cool, use a piping bag fitted with your favorite tip (a large star tip works beautifully) to swirl frosting generously on top. For an elegant finish, you can sprinkle the tops with red velvet crumbs, shaved white chocolate, or a dusting of cocoa powder.
Tips for Perfect Gluten-Free Red Velvet Cupcakes
-
Use a quality gluten-free flour blend: Choose a 1:1 baking mix that already includes xanthan gum or guar gum for structure.
-
Don’t skip the vinegar: It helps activate the baking soda and tenderizes the crumb, an essential component in red velvet’s signature texture.
-
Check the cocoa powder: Use natural unsweetened cocoa rather than Dutch-processed, as it reacts better with vinegar and baking soda.
-
Avoid overbaking: Gluten-free cupcakes dry out faster, so start checking them around the 18-minute mark.
-
Store properly: Keep cupcakes refrigerated in an airtight container for up to 3 days or freeze unfrosted ones for up to 2 months.
