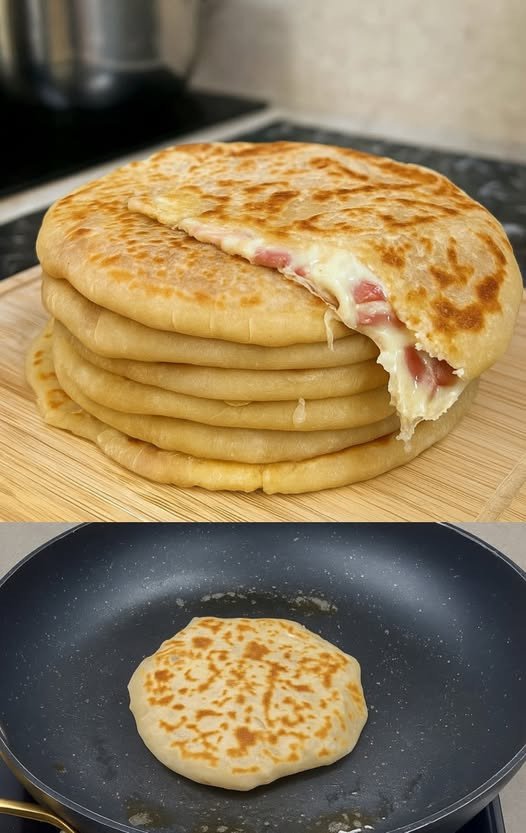
When it comes to soft, fluffy bread that almost melts in your mouth, milk bread holds a special place in many kitchens. Traditionally made with wheat flour, milk bread is known for its delicate crumb, pillowy texture, and slightly sweet flavor. But what if you’re living gluten-free and don’t want to miss out on this comforting loaf? Thankfully, a perfectly tender gluten-free milk bread is possible with the right mix of ingredients and methods. This recipe combines gluten-free flours, milk, and a few binding tricks to create a loaf that rivals the original. Whether you’re making it for toast, sandwiches, or simply enjoying it warm with butter, this bread will quickly become a household favorite.
Ingredients
-
2 cups (240 g) gluten-free all-purpose flour blend (with xanthan gum included)
-
½ cup (60 g) tapioca starch or potato starch
-
2 ½ tsp instant yeast
-
3 tbsp sugar (can use honey or maple syrup for variation)
-
1 tsp salt
-
1 cup warm milk (dairy or unsweetened non-dairy)
-
1 large egg, room temperature
-
3 tbsp unsalted butter, softened (or coconut oil for dairy-free)
-
1 tsp apple cider vinegar or lemon juice (helps with structure)
-
1 tbsp milk (for brushing top before baking)
Optional: 1 tbsp sesame seeds or poppy seeds for topping.
Instructions
Step 1: Activate the yeast
Start by mixing the warm milk, sugar, and yeast in a small bowl. Let it sit for about 5–7 minutes until it becomes foamy. This ensures the yeast is alive and ready to give your bread the rise it needs.
Step 2: Prepare the dry ingredients
In a large mixing bowl, whisk together the gluten-free all-purpose flour, tapioca starch, and salt. Gluten-free flours behave differently from wheat flour, so combining them well ensures an even crumb.
Step 3: Mix the wet ingredients
In another bowl, beat the egg lightly, then whisk in the softened butter (or coconut oil) and vinegar. Add the activated yeast mixture and stir until well blended.
Step 4: Combine wet and dry
Slowly add the wet mixture into the dry ingredients, stirring continuously with a spatula or stand mixer fitted with a paddle attachment. The dough will look more like a thick batter than traditional bread dough—don’t be alarmed. That’s normal for gluten-free bread.
Step 5: First rise
Cover the bowl loosely with plastic wrap or a damp towel and let the dough rise in a warm place for about 45–60 minutes. It should nearly double in size and look airy.
Step 6: Shape and second rise
Grease a loaf pan (8×4 inches works best). Transfer the dough into the pan, smoothing the top with a wet spatula or oiled hands. Cover and let it rise again for 30–40 minutes. It should puff up slightly above the rim of the pan.
Step 7: Bake
Preheat your oven to 350°F (175°C). Brush the top of the loaf with milk for a glossy finish. Bake for 35–40 minutes, or until the top is golden brown and the bread sounds hollow when tapped. An instant-read thermometer inserted into the center should read around 200°F (93°C).
Step 8: Cool before slicing
Allow the bread to cool in the pan for 10 minutes, then transfer it to a wire rack to cool completely. Slicing too early may cause the loaf to collapse, so patience here is key.
Tips for Success
-
Choose the right flour blend – Not all gluten-free flours perform the same. A blend containing rice flour, tapioca, and potato starch usually works best. If your flour mix doesn’t include xanthan gum, add 1 tsp to the recipe for elasticity.
-
Hydration is crucial – Gluten-free doughs need more liquid to stay moist and soft. Resist the urge to add extra flour; a wetter dough gives better results.
-
Don’t skip the vinegar or lemon juice – The acidity helps strengthen the structure of the loaf, preventing it from being too crumbly.
-
Storage – Gluten-free breads dry out faster than wheat breads. Keep your loaf in an airtight container at room temperature for 2 days or refrigerate for up to 5 days. It also freezes beautifully when sliced and stored in freezer bags.
