Making homemade butter is a rewarding kitchen project that transforms simple cream into a rich, creamy spread. The process is surprisingly easy and requires just a few ingredients and tools. Here’s a detailed guide to making your own butter at home.
Ingredients:
- Heavy Cream: You’ll need about 2 cups of heavy cream. For best results, use cream that is as fresh as possible. You can use either pasteurized or ultra-pasteurized cream, but note that ultra-pasteurized cream may take slightly longer to churn.
- Salt (optional): To taste, if you prefer salted butter. Use fine sea salt or kosher salt.
Equipment:
- Mixer: An electric stand mixer with a whisk attachment or a hand mixer.
- Cheesecloth or Fine Mesh Strainer: To strain the buttermilk.
- Spatula: For scraping the butter from the bowl.
- Cold Water: To rinse the butter.
- Butter Dish or Container: For storing the finished butter.
Instructions:
1. Prepare Your Equipment:
Ensure that all your equipment is clean and dry. This is important to avoid introducing any unwanted bacteria or impurities to your butter.
2. Churn the Cream:
- Pour the heavy cream into the mixing bowl of your stand mixer or a large bowl if using a hand mixer.
- Begin mixing on a low speed to avoid splattering. Gradually increase the speed to medium-high. As the cream whips, it will go through stages: first, it will turn into whipped cream, and then, after a few minutes, it will start to separate into butter and buttermilk.
3. Separate the Butter:
- Continue mixing until the butter begins to clump together and the buttermilk separates. This usually takes about 10 minutes with a stand mixer. If using a hand mixer, it may take a bit longer.
- Once the butter and buttermilk are separated, turn off the mixer. You’ll see the butter has formed a mass, and the buttermilk is a thin, milky liquid.
4. Drain the Buttermilk:
- Pour the buttermilk into a bowl or measuring cup. You can save this for baking or cooking, as it adds a tangy flavor to recipes.
- Transfer the butter to a bowl or clean surface.
5. Knead the Butter:
- Use a spatula or your hands (wear gloves if preferred) to knead the butter. This helps remove any remaining buttermilk and ensures a firmer texture.
- Rinse the butter under cold water, kneading it gently to remove more buttermilk. This step is crucial for ensuring that the butter stays fresh longer and doesn’t spoil quickly. Change the water a few times until it runs clear.
6. Season the Butter (Optional):
- If you like salted butter, add salt to taste. Start with about 1/4 teaspoon and adjust according to your preference. Mix thoroughly to ensure the salt is evenly distributed.
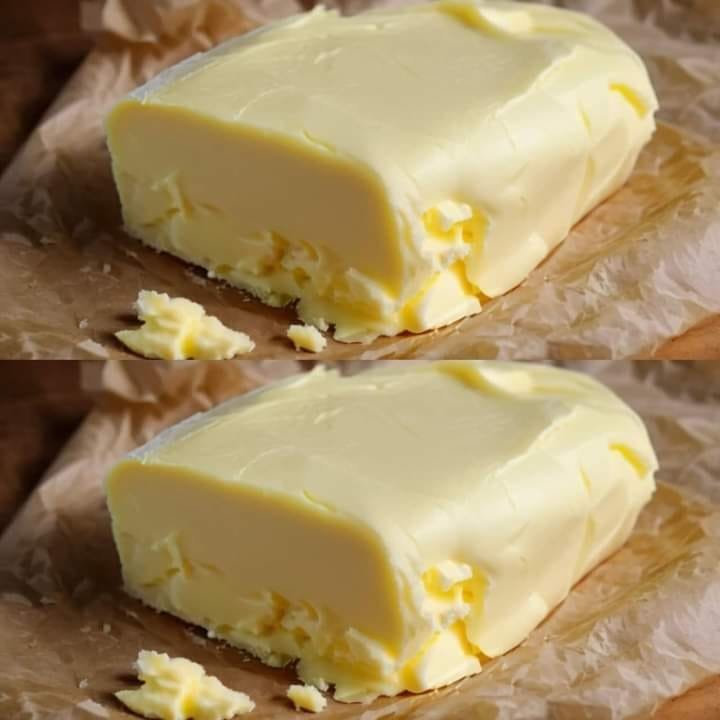
7. Store the Butter:
- Transfer the butter to a butter dish or container. You can shape it into a block or store it in a tub.
- Homemade butter can be kept in the refrigerator for up to 2 weeks. For longer storage, you can freeze it for up to 6 months. Just be sure to wrap it tightly in plastic wrap or aluminum foil before freezing.
Tips for Success:
- Use Cold Cream: Chilling the cream before churning can help it whip more efficiently.
- Avoid Over-Mixing: Over-mixing can cause the butter to become too soft and may result in excessive buttermilk being released.
- Experiment with Flavors: Feel free to add herbs, spices, or garlic to customize your butter.
Making butter at home is not only satisfying but also allows you to enjoy a fresher, more personalized product. Plus, it’s a great way to impress family and friends with your culinary skills!
