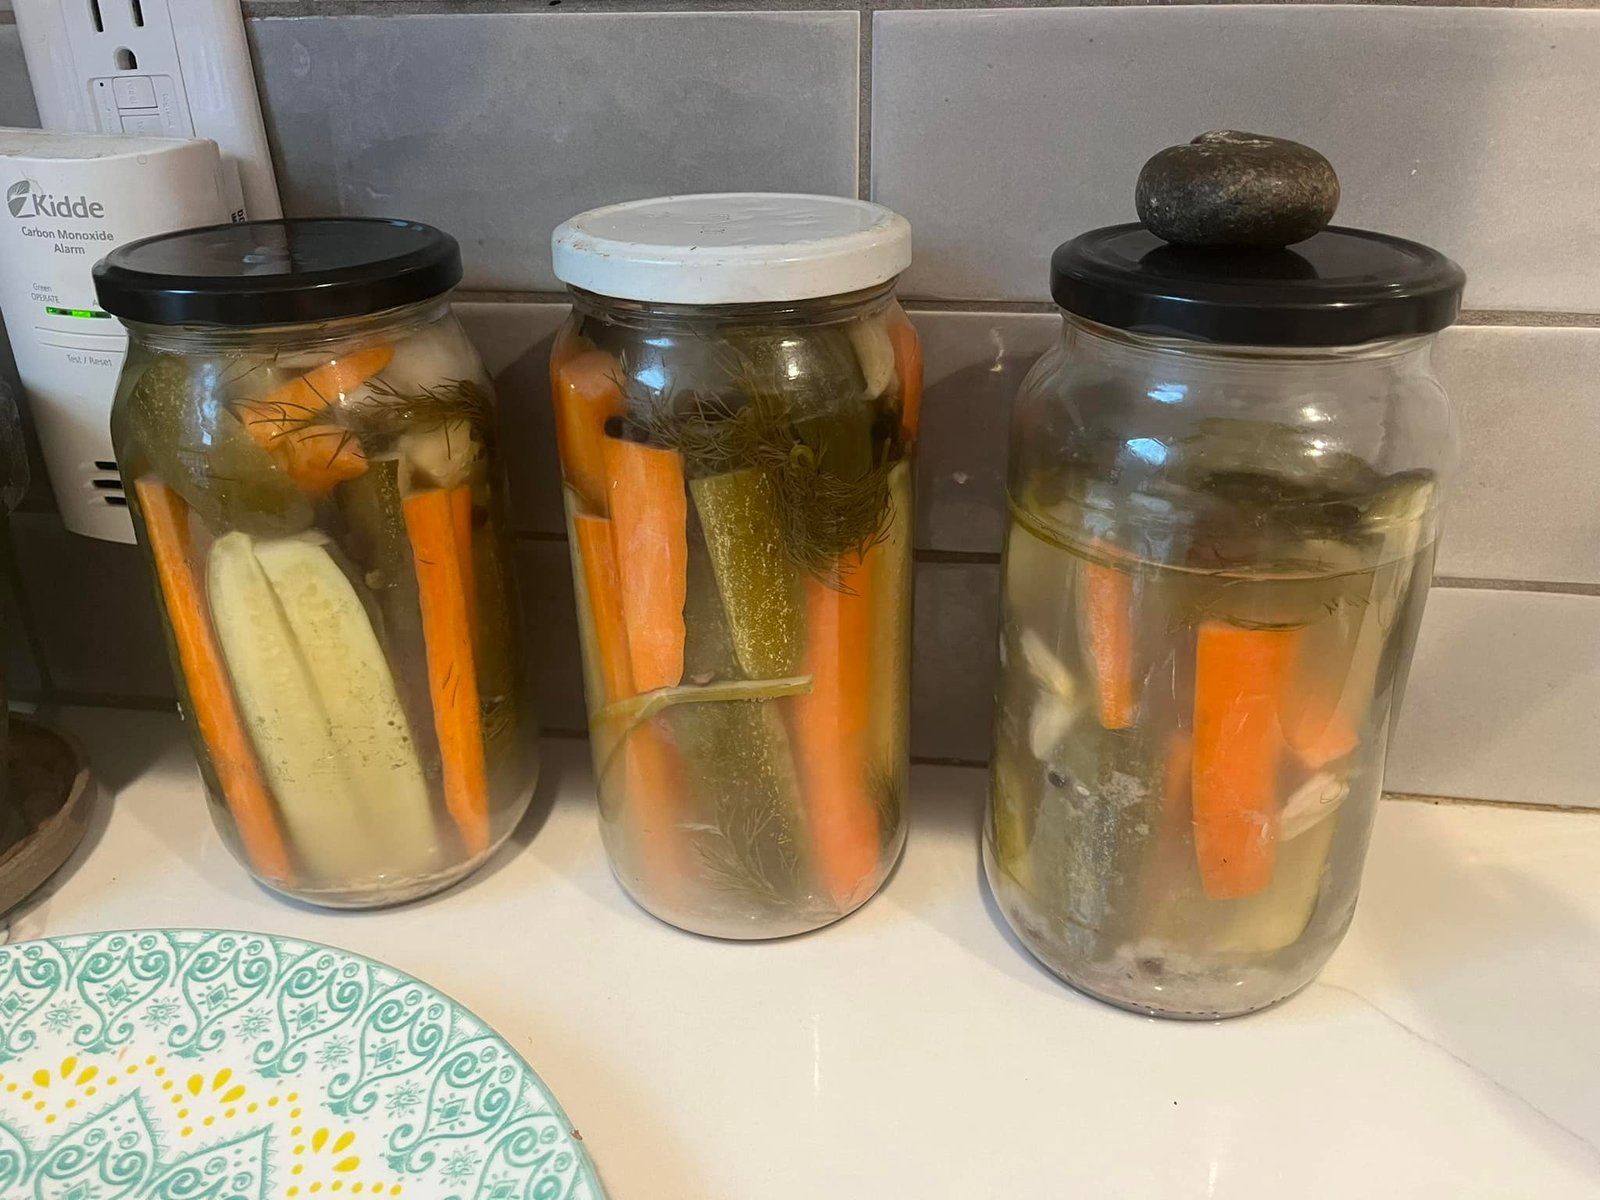
Preserved Vegetables Jar Recipe
Preserving vegetables in a jar is a fantastic way to enjoy seasonal produce all year round. This method, which involves pickling or fermenting, not only extends the shelf life of your veggies but also enhances their flavors. Here’s a classic recipe for creating a jar of preserved vegetables that combines tangy pickling with the crunch of fresh produce.
Ingredients
- 4 medium carrots, peeled and cut into sticks
- 1 bell pepper, sliced (any color)
- 1 cup green beans, trimmed
- 1 small zucchini, sliced
- 1 small red onion, thinly sliced
- 3 cloves garlic, peeled and smashed
- 1 tablespoon fresh dill, or 1 teaspoon dried dill
- 1 tablespoon mustard seeds
- 1 teaspoon black peppercorns
- 1 teaspoon coriander seeds
- 1/2 teaspoon red pepper flakes (optional, for heat)
- 1 cup white vinegar
- 1 cup water
- 1 tablespoon sugar
- 1 tablespoon kosher salt
Equipment
- 1 quart-sized glass jar with a lid (sterilized)
- A small saucepan
- Tongs or a slotted spoon
- A clean cloth or paper towels
Instructions
- Prepare the Vegetables:
- Peel and cut the carrots into sticks about 3 inches long.
- Slice the bell pepper into strips.
- Trim the ends off the green beans.
- Slice the zucchini into half-moons.
- Thinly slice the red onion.
- Sterilize the Jar:
- Wash the jar and lid with hot, soapy water.
- Sterilize by placing them in a boiling water bath for 10 minutes or running them through a hot dishwasher cycle.
- Pack the Vegetables:
- Arrange the vegetables in the jar, packing them tightly but without crushing them.
- Tuck in the garlic cloves, dill, mustard seeds, peppercorns, coriander seeds, and red pepper flakes (if using) among the vegetables.
- Prepare the Pickling Brine:
- In a small saucepan, combine the white vinegar, water, sugar, and kosher salt.
- Bring to a boil over medium heat, stirring occasionally until the sugar and salt are fully dissolved.
- Once dissolved, remove from heat and let the brine cool slightly.
- Fill the Jar:
- Carefully pour the hot brine over the packed vegetables in the jar, ensuring the vegetables are fully submerged.
- Leave about 1/2 inch of headspace at the top of the jar to allow for expansion and prevent spillage.
- Seal and Cool:
- Wipe the rim of the jar with a clean cloth to remove any residue.
- Place the sterilized lid on the jar and screw on the ring until it’s fingertip tight.
- Allow the jar to cool to room temperature.
- Store and Wait:
- Once cooled, place the jar in a cool, dark place.
- Let the vegetables pickle for at least 48 hours before tasting. For the best flavor, wait 1 to 2 weeks.
- Refrigerate After Opening:
- Once opened, store the jar in the refrigerator. The pickled vegetables can last up to 2 months in the fridge.
Tips
- Flavor Variations: Experiment with different herbs and spices like thyme, bay leaves, or cinnamon sticks to create unique flavor profiles.
- Vegetable Choices: Feel free to mix and match vegetables based on what’s in season or your personal preferences.
- Adjusting Spice Levels: If you like it spicier, add more red pepper flakes or a sliced jalapeño.
Enjoy your homemade preserved vegetables as a crunchy snack, a zesty addition to sandwiches, or a tangy side dish to any meal. Happy preserving!
