There’s something undeniably comforting about the aroma of freshly baked scones — warm, buttery, and just a little sweet. Traditionally baked in the oven, scones have now found a new home in the air fryer, where they cook faster and come out perfectly golden every time. The best part? You can make them with just three simple ingredients! This quick and delightful recipe will show you how to whip up 3-Ingredient Air Fryer Scones that are tender inside, crisp outside, and absolutely irresistible. Perfect for breakfast, afternoon tea, or a quick dessert, these scones are a breeze to make and sure to impress.
Ingredients You’ll Need
-
2 cups self-rising flour
Self-rising flour is the secret to making this recipe work with minimal ingredients. It already contains baking powder and salt, ensuring your scones rise beautifully without needing additional leavening agents. -
1 cup heavy cream (or thickened cream)
Cream adds richness, moisture, and that signature soft crumb to the scones. You can also substitute it with full-fat coconut cream for a dairy-free version. -
2 tablespoons sugar (optional but recommended)
While sugar is optional, adding just a little enhances the flavor and gives your scones that perfect hint of sweetness. You can also skip it for a more savory version.
Optional Add-ins (for extra flair)
Even though this is a 3-ingredient recipe, you can easily elevate your scones with simple additions like:
-
½ cup chocolate chips for a sweet treat
-
A handful of dried cranberries or raisins
-
A sprinkle of grated cheddar cheese and herbs for savory scones
Instructions
Step 1: Prepare Your Dough
In a large mixing bowl, add the self-rising flour and sugar (if using). Gradually pour in the heavy cream while stirring gently with a spoon or spatula. Mix until a soft dough begins to form. Avoid overmixing; the dough should be slightly sticky but not wet. If it feels too dry, add a tablespoon more cream. If it’s too sticky, sprinkle in a little extra flour.
Step 2: Shape the Scones
Lightly dust a clean surface with flour and turn the dough out onto it. Using your hands, gently pat the dough into a circle about 1 inch thick. Use a round cutter (or the rim of a glass) to cut out scones. Gather any scraps, reshape the dough, and continue cutting until you’ve used it all. You should get around 6–8 scones, depending on size.
Step 3: Preheat the Air Fryer
Set your air fryer to 350°F (180°C) and preheat for about 3 minutes. Preheating ensures even cooking and that signature golden crust.
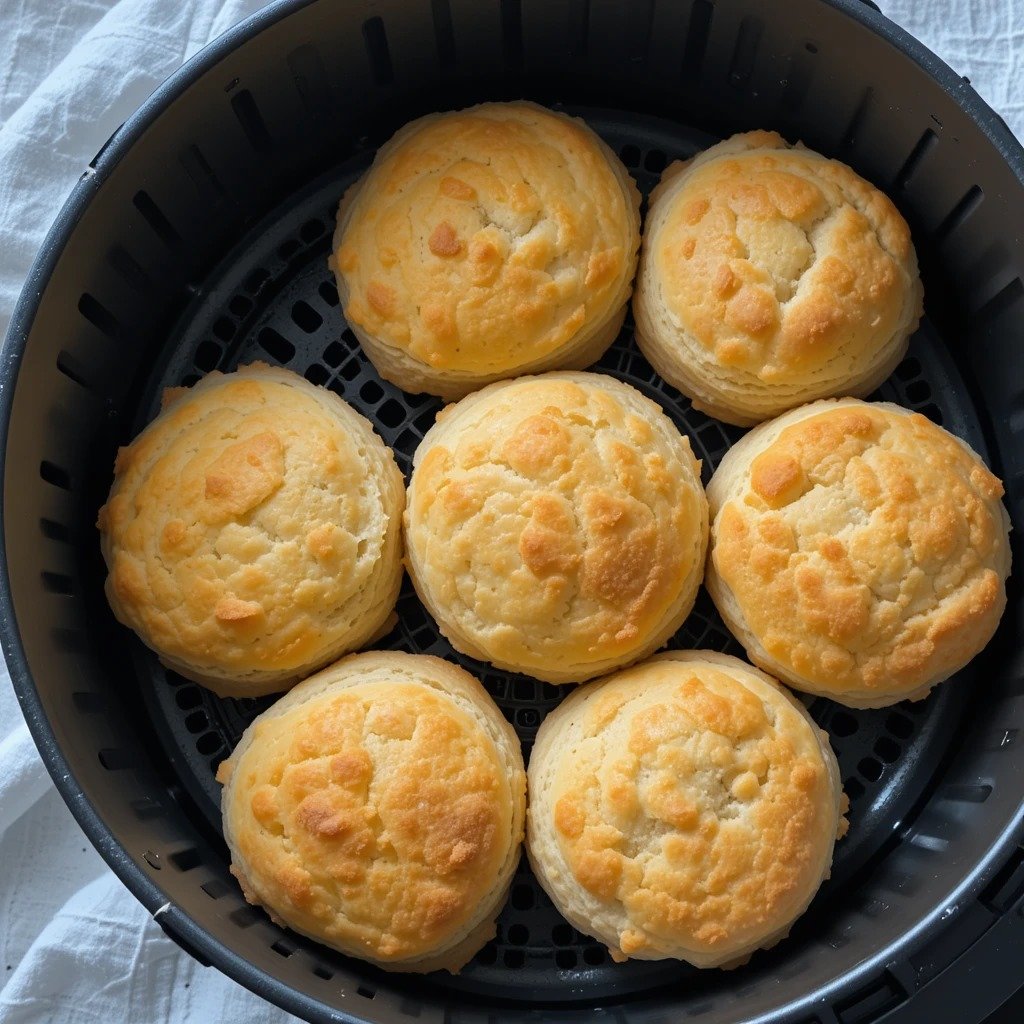
Step 4: Air Fry the Scones
Lightly spray the air fryer basket with non-stick cooking spray or line it with parchment paper. Place the scones in a single layer, leaving a little space between each one for even airflow. Depending on the size of your air fryer, you may need to cook them in batches.
Air fry the scones for 8–10 minutes, or until they are puffed up and lightly golden on top. Check them around the 8-minute mark — every air fryer cooks slightly differently, and you don’t want them to dry out.
Step 5: Cool and Serve
Once done, carefully remove the scones from the basket and let them cool for a few minutes on a wire rack. Serve them warm with butter, clotted cream, and jam for a classic touch, or drizzle with honey for a sweet finish.
Tips for Perfect Air Fryer Scones
-
Don’t overmix the dough — Overworking it can make the scones dense instead of fluffy. Stir just until the ingredients come together.
-
Use cold cream — Chilled cream helps create that tender crumb and keeps the dough easy to handle.
-
Avoid crowding the air fryer — Give your scones room to expand so they cook evenly and develop a nice crust.
-
Check early — Air fryers vary in power; check at the 8-minute mark to prevent overbaking.
-
Add a light glaze — For a bakery-style finish, brush the tops with a little cream before cooking to enhance browning.
